 1. Prepare the Opening
Check the opening dimensions and make sure it is plumb, square and level. If necessary, shim or adjust to correct.
CAUTION: This unit is designed to give 1 inch clearance between door bottom and finished floor. For thick carpets or built-up floors, a shim should be installed under the threshold and frame to raise the unit to finish floor level. The installation opening height must be increased to compensate for the shim.
- DO NOT remove shipping braces, support bracket or door bottom shims from the door frame unit.
- You may remove the skid board if it is not required for a sill shim or filler.
- Doors are not reinforced for closers unless specified on the subject order.
- Sex bolts must be used on a nonreinforced door for installing closers.
 2. Set the Unit in the Opening
Center the unit in the opening and tilt into position. Plumb the hinge side and temporarily tack the unit in place at one point through the hinge side brick mould.
 3. Level and Shim Unit
Check the top of door frame to see if door unit is level. If it is not, the correction should be made by placing shims under the jambs and threshold as required.
- Remove shipping braces and screws, that hold the support bracket to the frame so the door can be opened.
- Place solid shims between frame and opening behind each hinge on the hinge jamb and at corresponding locations on the lock jamb.
- Square the unit–adjust shims until there is an even margin between door and frame across the top and from top to bottom on the lock side.
 4. Nail the Hinge Side
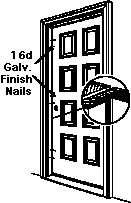
Go outside through another entry and nail through hinge jamb and shims into stud with two(2) 16d galvanized finish nails at each hinge location.
- Install two (2) security screws (#9 x 2-1/4″) into the top hinge as shown.
- Install one (1) security screw in the middle hinge. Make sure that the balance of the hinge screws are tight.
- Check to see if the frame is still plumb and not bowed which is sometimes caused by nailing.
 5. Adjust the Lock Side
From the outside, close the door carefully and check to make sure the weatherstrip is sealing against the door from top to bottom and across the top. If necessary, adjust the lock jamb in or out at the top and/or bottom to make sure the unit is sealing properly.
6. Nail the Lock Side
From outside, nail through the lock jambs and shims into the stud with two (2) 16d galvanized finish nails as shown.
 7. Final Steps
- Finish nail the exterior brick mould.
- Caulk around brick mould and threshold, as shown, and for further weather-proofing, put insulation between the opening and the frame.
- Install C-Ring and Lock Mounting Plate.
 8. Door Bottom Sweep
To make sure the door bottom sweep is making contact with the top of the threshold, place a thin piece of paper (such as cellophane) on the threshold and close the door. This piece of paper should pull out with some resistance. If to loose or too tight make adjustment in the height of the threshold.
9. Finish Paint Door & Frame
- Nailset and putty all nail heads as required.
- Paint the door in its open position.
- With a sponge or soft bristle brush, remove all dirt and oil with a mild detergent solution and wipe dry. Sand lightly with (#180 for brush & #300 for spray) emery cloth and wipe clean. If latex paints are used, be sure to use a high quality exterior grade.
- Do not paint weatherstrip.
- Do not close door until paint is completely dry.
 10. Double Doors
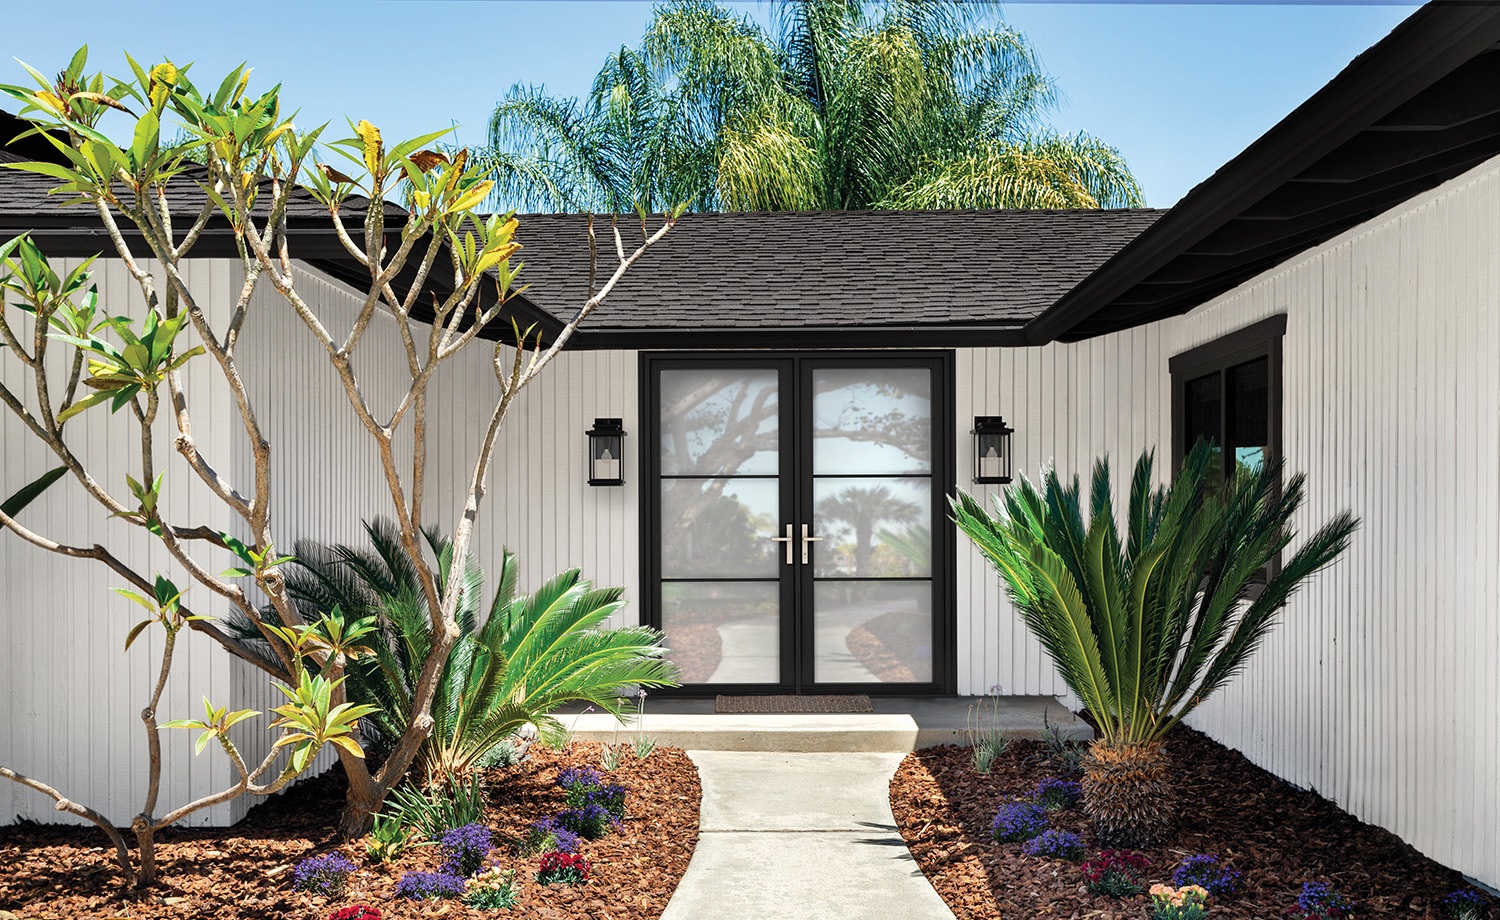
Prepare opening and set unit in the same way as in step one. Shim unit between frame and rough opening behind each hinge.
- Square the unit — adjust shims so there is an even margin across top of both doors and from top to bottom where the two doors meet. Do not nail at this time.
- Go outside and plumb & nail the brickmould on the inactive door side only.
- Adjust shims as required and nail the inactive hinge jamb at the hinge locations.
- Adjust the active door frame hinge jamb so that the active door meets the other evenly from top to bottom.
- Adjust shims as required and nail the active hinge jamb at the hinge locations.
- Nail the head firmly in place at the shim location.
- Shim as required and nail the brick mould at the frame head and the active door frame hinge jamb firmly in place.
- Complete steps 7, 8 & 9 for single doors.
 11. Sidelite Units
Prepare opening and set unit in the same way as in step one.
- Shim unit between frame and rough opening behind each hinge, then adjust shims to square unit so there is an even margin across top of door and from top to bottom on lockside of door.


